///
Monday, October 12, 2026
Learn how to take accurate body measurements for stitching. Discover essential measuring tips, common mistakes and tools for better garment fitting.
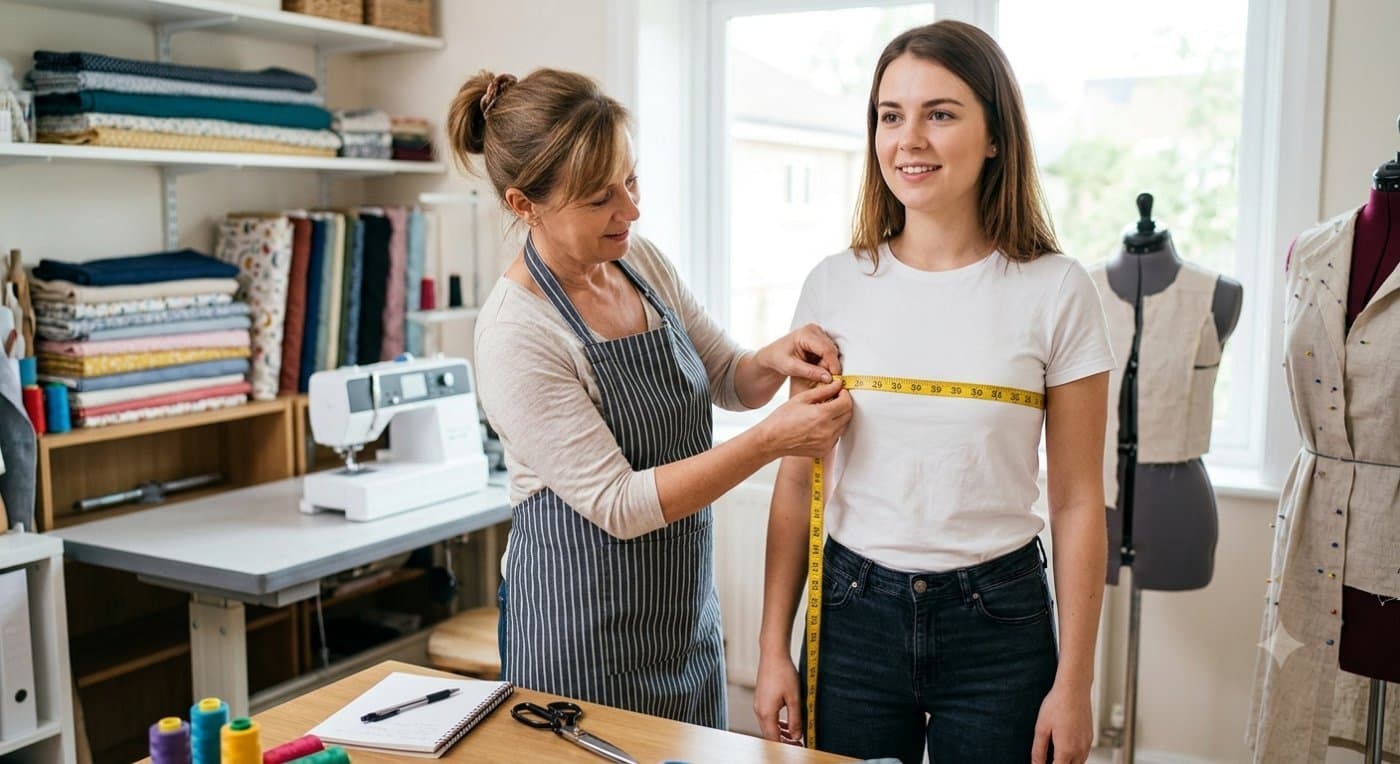
Creating well-fitted clothes begins with accurate body measurements. Whether you are stitching a blouse, kurti, dress or trousers, taking measurements correctly helps you prepare better patterns and achieve a comfortable fit. For beginners, tailors and boutique owners, learning this basic skill is an important step towards professional garment construction.
Correct measurements help determine the size and proportions of a garment. Incorrect measurements may lead to tight fitting, loose sections, uneven hems or unnecessary alterations.
Taking time to measure carefully can help reduce fabric waste and improve the final result. It also makes pattern drafting easier and helps create garments that fit comfortably.
Before starting, prepare the basic tools you need for the process.
Using suitable tools and following a consistent method can make measuring easier for beginners and professionals alike.
Ask the person being measured to stand naturally in a comfortable, upright position. Use a consistent measuring method and avoid taking measurements over bulky clothing. Keep the tape flat against the body without pulling it too tightly.
Place the measuring tape around the fullest part of the bust or chest, keeping it level across the front and back. Make sure the tape is neither too tight nor too loose, and record the measurement clearly.
Identify the natural waistline and wrap the tape around it. The person should breathe normally and stand comfortably. Avoid pulling the stomach inward, as this can affect the measurement and the garment's fit.
Measure around the fullest part of the hips and seat, keeping the tape horizontal. Check that the tape is not twisted and that it follows the body's natural shape without compressing it.
Measure the required garment length from the appropriate starting point to the desired hemline. For sleeves, follow the measurement method suitable for the design and record the required sleeve length.
Remember that starting points can vary depending on the garment style, so use a consistent method for each project.
Write down each measurement immediately and label it clearly. Repeat any measurement that seems unusual.
Before drafting a pattern, confirm that all required measurements have been recorded correctly. This simple habit can help prevent mistakes during cutting and stitching.
Even experienced tailors can make measurement errors. Here are some common mistakes to watch out for:
Avoiding these mistakes can help improve consistency and reduce the need for repeated alterations.
Use a reliable measuring tape and maintain a consistent measuring method. Consider the garment style, fabric properties and required ease when preparing a pattern.
Body measurements are not always identical to finished garment dimensions because garments need appropriate room for movement and comfort. The amount of ease depends on the design, fabric and intended fit.
For best results, check your measurements before cutting fabric and review the pattern carefully before stitching.
Having suitable tools makes measuring and garment preparation easier. At Nisha Rajput Fashion, explore measuring and marking essentials, including measuring tape and tailor's chalk, to support your sewing and fashion designing projects.
Whether you are learning to stitch at home or managing a boutique, careful measurements are the foundation of better garment fitting. Practise consistently, record measurements clearly and check your work before cutting fabric.
Start building your sewing toolkit with Nisha Rajput Fashion and make every step of garment preparation more organized.