How to Use a Seam Ripper Without Damaging Fabric: Step-by-Step Guide
Monday, October 12, 2026
Learn how to use a seam ripper safely without tearing delicate fabric. Master techniques, safety tips, and common sewing mistake fixes for perfect results.
How to Use a Seam Ripper Without Damaging Fabric (Step-by-Step Guide)
Every sewist, whether a complete beginner or a seasoned professional tailor, makes mistakes. Whether you accidentally caught the wrong side of the fabric or stitched a seam backwards, ripping out stitches is a natural part of the sewing process.
However, few things are as frustrating as tearing your garment while trying to fix a mistake.
The seam ripper (also called a stitch unpicker) is one of the most powerful tools in your sewing kit—when used correctly. In this guide, you’ll learn the anatomy of a seam ripper, step-by-step methods to unpick stitches safely, and expert tips to protect delicate fabrics like silk, chiffon, and knits.

What Is a Seam Ripper and How Does It Work?
Before diving into the techniques, it helps to understand the parts of your seam ripper.
A standard seam ripper features four distinct parts:
- The Long Point: Used to slip under individual stitches without snagging adjacent threads.
- The Inner Curved Blade: The sharp inner section that slices through threads when pushed forward.
- The Short Point with a Red Safety Ball: Protects your fabric from snagging or tearing while sliding down long seams.
- The Handle/Cap: Provides grip and extends the tool length when attached to the base.
Step-by-Step: How to Use a Seam Ripper Safely
Depending on the type of seam and fabric you are working with, you can use two main techniques to unpick stitches safely.
Method 1: The Quick Sliding Technique (Best for Sturdy Fabrics)
This method works wonders on woven fabrics like cotton, denim, linen, and canvas.
- Isolate the First Few Stitches: Use the long point of the seam ripper to manually cut the first 2 to 3 stitches at the start of the seam.
- Flip the Tool: Turn the seam ripper so the small red safety ball is underneath, facing inside the seam allowance against the fabric.
- Slide Forward Smoothly: Gently push the seam ripper along the seam line. The red ball prevents the sharp point from piercing the fabric, while the inner blade cuts the thread continuously.
- Clear Loose Threads: Pull out the sliced threads by hand or with a thread eraser.
Method 2: The Stitch-by-Stitch Technique (Best for Delicate or Knit Fabrics)
For sheer fabrics (chiffon, silk) or stretchy knits (jersey, spandex), the quick sliding method can cause puckering or tearing. Use this slow, safe technique instead:
- Lay the Fabric Flat: Place your garment on a clean, well-lit surface.
- Slide Under One Stitch: Insert the long point beneath every 3rd or 4th stitch on one side of the seam.
- Cut Upward: Lift the tool gently upward so the inner curved blade cuts the thread.
- Pull from the Back: Turn the fabric over and pull the main thread bobbin line—it should peel right off!
4 Crucial Tips to Prevent Fabric Damage
- Dull Tools Cause Tears: Seam rippers lose their sharpness over time. If you have to push hard to cut a thread, replace your seam ripper immediately.
- Keep Fabric Taut, Not Stretched: Pulling the fabric too tight while ripping can create small holes in delicate weaves. Maintain gentle tension instead.
- Use Good Lighting and Magnification: Misjudging the gap between thread and weave is the #1 cause of accidentally poking a hole in fabric. Use a desk lamp or magnifying glass when working on fine garments.
- Beware of Stretch Fabrics: On knits, cutting a thread can pull adjacent fibers. Always stick to the stitch-by-step technique for athletic wear and jerseys.
FAQ: Frequently Asked Questions
What is the red ball on a seam ripper for?
The small red ball is a safety guard designed to slide smoothly inside folded seam layers without catching or tearing the fabric weave.
How often should I replace my seam ripper?
If you sew regularly, replace your seam ripper every 6 to 12 months. A dull blade can snag threads and damage your fabric.
How do I remove tiny holes left after unpicking a seam?
Gently rub the fabric weave with your fingernail or steam the area with an iron. This helps the fabric fibers settle back into their original alignment.
Essential Tools Featured in This Guide
To make your sewing experience smooth and stress-free, equip your workspace with high-quality notions:
- Ergonomic Seam Rippers: Designed for comfort and precision.
- Fabric Lint Rollers & Thread Erasers: Clean up loose threads in seconds.
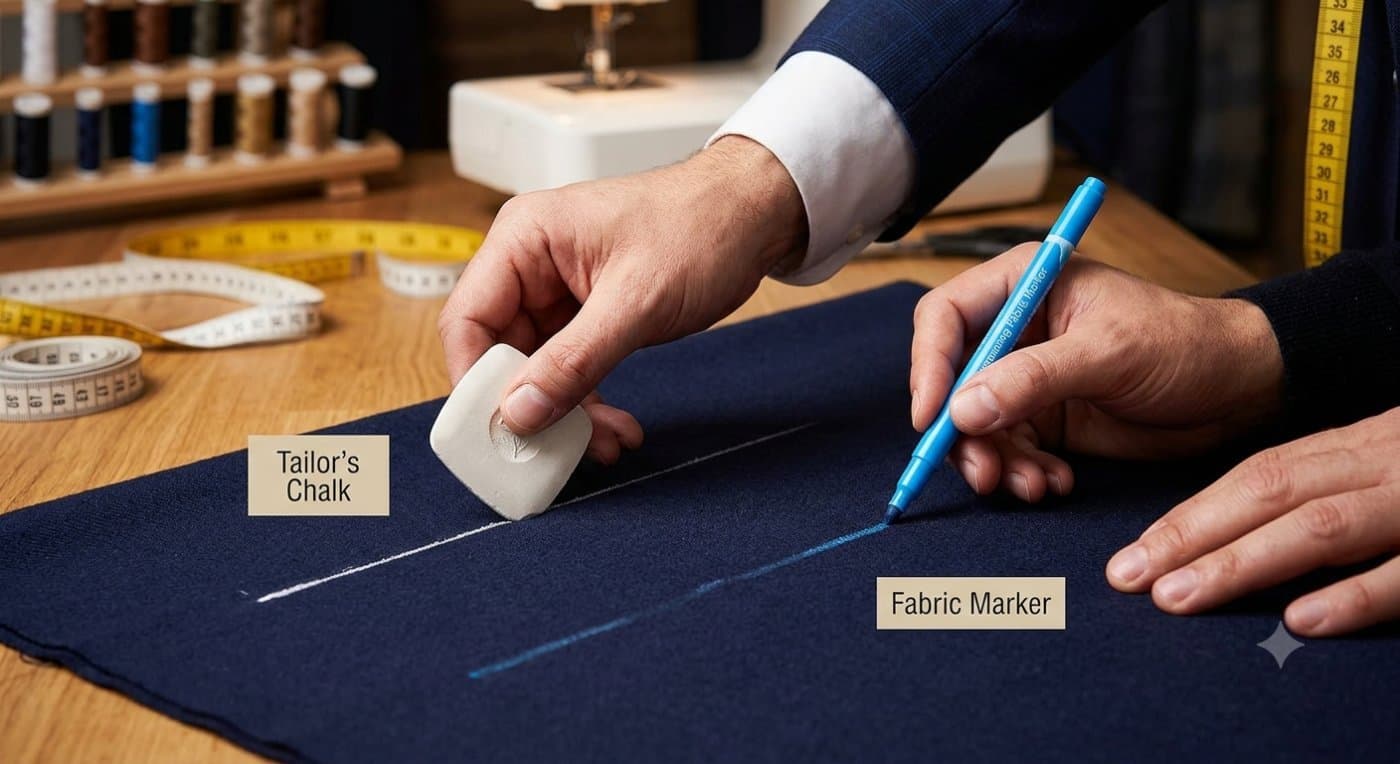
- Tailor's Chalk & Marking Pens: Mark your corrections cleanly.
Ready to upgrade your sewing kit? Explore our full collection of professional tailors' tools today!