
///
Monday, October 12, 2026
Learn how to use an L-shaper in fashion designing for accurate pattern drafting, straight lines, right angles and professional garment construction.
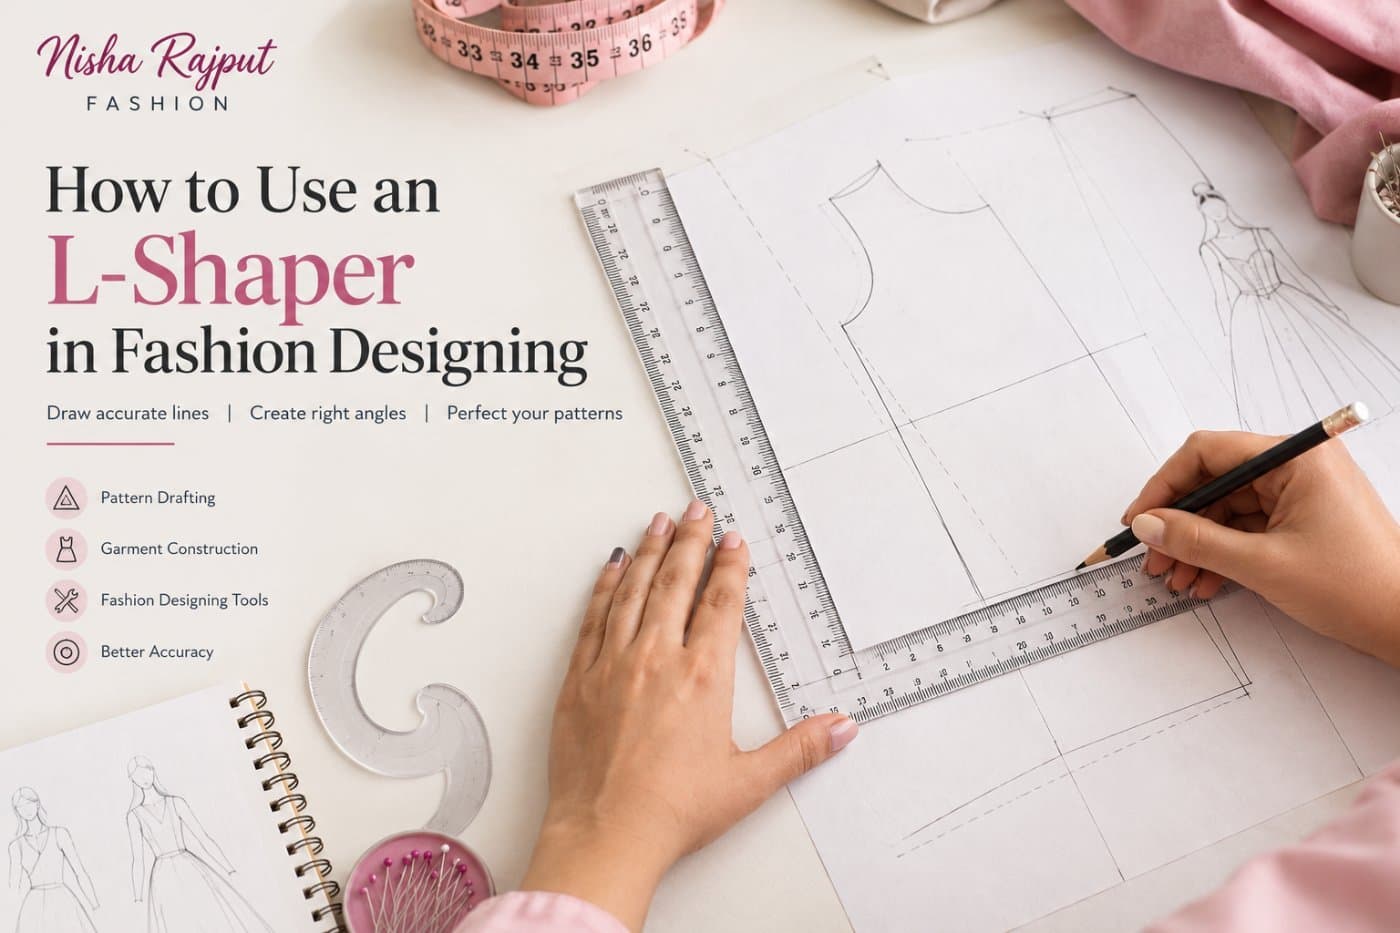
Creating well-fitted garments starts with accurate measurements and proper pattern drafting. Whether you are designing blouses, kurtis, trousers or dresses, the right tools help you draw clean lines and maintain consistent proportions. One useful tool in a fashion designer's toolkit is the L-shaper.
In this guide, we will explain what this tool does, how to use it and why it is helpful for beginners, tailors and boutique owners.
An L-shaper is a drafting tool shaped like the letter L. It typically has two arms positioned at a right angle, making it useful for drawing perpendicular lines and checking square corners. Depending on its design and markings, it can also help establish straight reference lines while preparing garment patterns.
It is commonly used during pattern drafting, where accuracy is important for creating garment pieces that fit together correctly.
A well-drafted pattern provides a foundation for cutting and stitching fabric. Uneven lines or inaccurate angles can affect the shape and alignment of garment pieces.
Using an L-shaper can help you:
Although the tool improves drafting accuracy, correct body measurements and careful checking remain essential.
Place pattern paper on a flat, stable table. Keep your measuring tape, pencil, ruler and design measurements nearby. A clean workspace makes it easier to draw and check lines.
Identify the starting point for your pattern using the measurements and drafting method appropriate for your garment. Mark it lightly with a pencil so you can make corrections if required.
Place one arm along your reference line. Use the second arm to establish a line at a right angle. Keep the tool steady to prevent unwanted movement while drawing.
Trace along the relevant edge to create the required horizontal or vertical line. Depending on your pattern, these lines may help establish a baseline, side reference or other drafting points.
Compare the drafted lines and marked points against your pattern instructions. Confirm that the lengths and positions match your intended measurements before moving forward.
Once your basic lines are ready, complete the remaining curves and design details using suitable drafting tools. Check the pattern carefully before cutting fabric.
Even a useful drafting tool cannot correct every measurement error. Avoid these common mistakes:
Choose a tool with clear markings, a comfortable size and edges that are easy to align with your pattern paper. Consider the types of garments you make and the amount of drafting space available.
Beginners may prefer a simple drafting setup, while professional designers and boutique owners can add specialised rulers and curves according to their requirements.
Building a practical drafting kit can make your garment-making process more organised. At Nisha Rajput Fashion, explore pattern-making essentials such as the L-shaper, straight ruler, arm curve, French curve ruler and tracing wheel.
Choose tools that suit your projects, practise your drafting techniques and check each pattern carefully before cutting fabric. With the right equipment and consistent practice, you can build a stronger foundation in fashion designing.